The Gist Of IT
This section shows the work flow in condensed form. If you prefer a more detailled explanation skip to the next section.
# Export the current system configuration.
secedit /export /cfg hisecws.inf /areas USER_RIGHTS
# Edit hisecws.inf as required.
notepad hisecws.inf
# Import the changed configuration into the system.
secedit /configure /db hisecws.sdb /overwrite /cfg hisecws.inf /areas USER_RIGHTS /log hisecws.log
In Detail
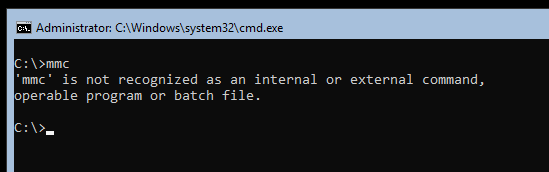
If you needed to edit the local Security Policy Settings on Windows Server Core you may have noticed that the Microsoft Management Console (MMC) is not available on Server Core.
You may know that installing the Server Core App Compatibility Feature on Demand (FOD) adds the MMC (including a bunch of other basic features) back to Server Core. But unfortunately, although you can now open the MMC and add the Local Computer Policy snap-in (gpedit.msc), the Security Settings section is still unavailable.
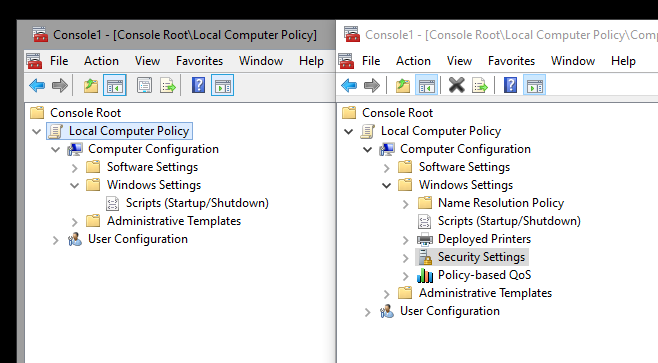
Left: Core-Edition, Right: Desktop-Edition
This means you need to use secedit.exe to edit the local security policy settings. This can be a bit daunting if you’re new to Windows Server Core. With the help of an example, I would like to show you how it works. In our example, we want to grant a domain account the privilege to log on as a service. On the Desktop edition, you would add the account as shown below.
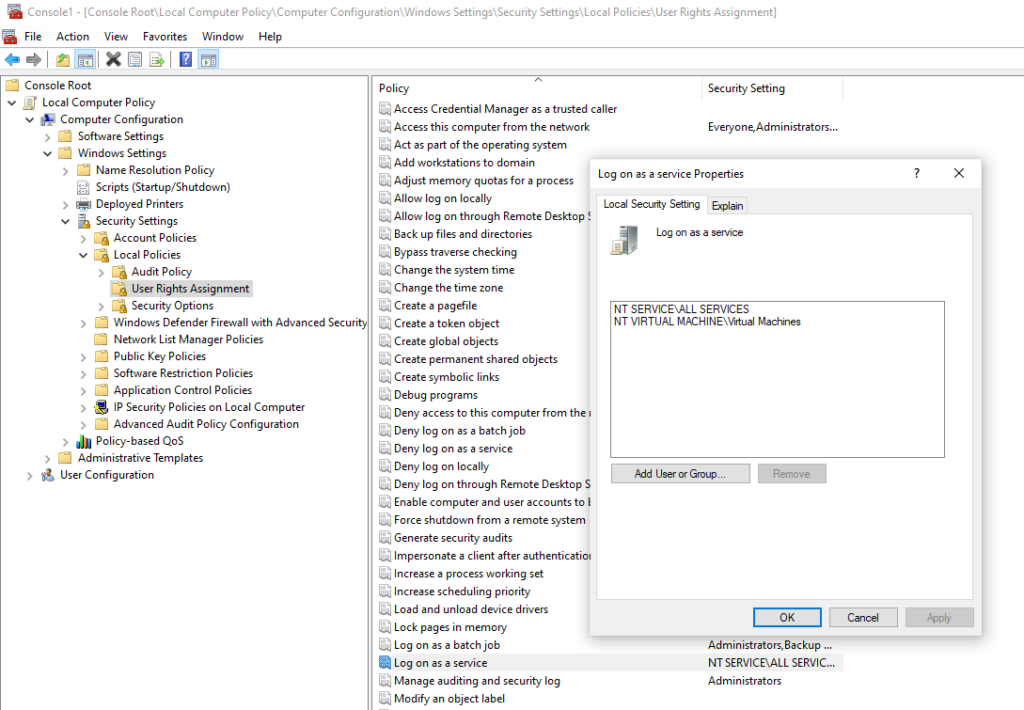
First, we need to find the constant of the privilege we want to assign. We can look this up in the Security Policy Settings Reference (User Rights Assignment / Log On As A Service). There it says, the constant is SeServiceLogonRight.
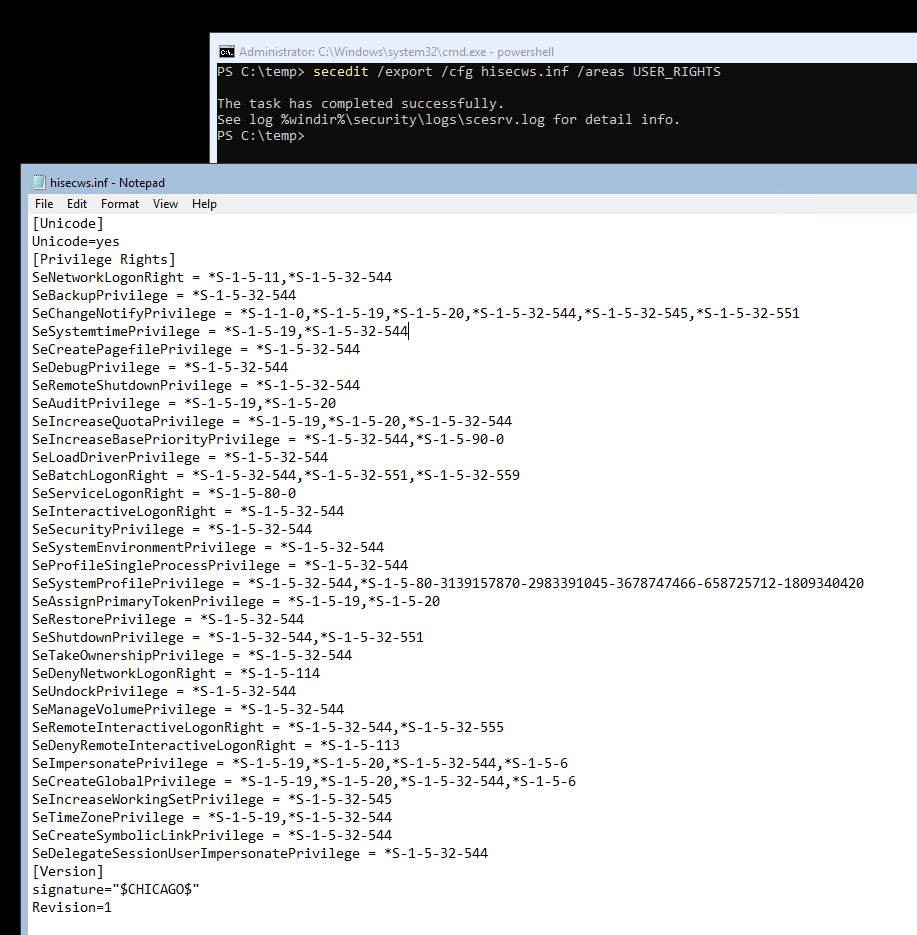
After we identified the constant, create a new temporary working directory, then export the current security settings with: secedit /export /cfg hisecws.inf. We can scope the command to export only the user rights assignments: secedit /export /cfg hisecws.inf /areas USER_RIGHTS. If we inspect the export, we should see something similar to this.
It is a good idea to keep a backup of this file until you verified that your applied changes work as expected. We would revert the changes simply by applying this configuration in the same way we would apply the new configuration, which I will explain next.
In this exported configuration file, each privilege is applied to one or more SIDs, separated by commas. Privileges that are currently not applied to any SID are not listed in the file. Find the line that starts with SeServiceLogonRight and append the SID you want to grant privilege to. Remember to prepend the SID with an asterisk. You may also remove any other privileges that should remain untouched to prevent unintentional changes. The final file would look similar to this:
[Unicode]
Unicode=yes

[Privilege Rights]
SeServiceLogonRight = *S-1-5-80-0,*S-1-5-21-1004336348-1177238915-682003330-55472

[Version]
signature="$CHICAGO$"
Revision=1
Before we apply this configuration, we want to validate it: secedit /validate hisecws.inf. It is important to mention that this validates only the configuration file structure, not the values.
To finally apply the new configuration run this command: secedit /configure /db hisecws.sdb /overwrite /cfg hisecws.inf /areas USER_RIGHTS /log hisecws.log. This imports the configuration into a new database file before applying the database configuration to the system settings. This is a mandatory step as it is not possible to apply a configuration file directly to the system settings. The /overwrite parameter forces secedit to purge any data from the database file, if it already exists in the local folder. Unless you are configuring advanced scenarios, I recommend to overwrite it to not import unintended changes. We also scoped the import to the user rights assignments, although this was not strictly necessary as the imported configuration only contained one setting anyway.
When done check the log files for abnormalities, then restart your system. (Restarting the system is not always required, but getting into this would be out of scope for this article.) After you confirmed that the configuration changes work as expected, you may remove all files that you created during the change.
Leave a Reply