Enabling transparent SMB authentication between your Microsoft Account and your Synology DiskStation

 (modified 

)

One thing that annoyed me quite a bit after upgrading to Windows 10 and using a Microsoft Account was, that now I had to actively provide credentials to access the SMB shares on my Synology DiskStation. Whereas before I was able to access the share without being asked to enter a username and password. For some idiotic reason, simply ticking that checkbox that says “Remeber my credentials” didn’t satisfy me. Today, after almost three years (the TP was release on 1st October 2014), I found the embarassingly easy solution.

The Problem

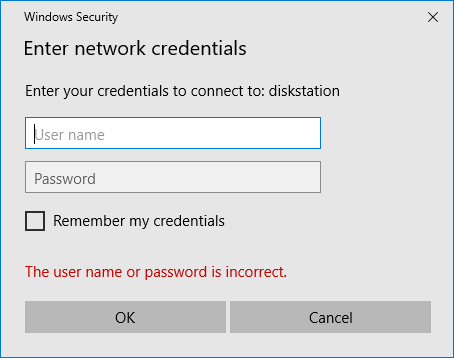
As you might know, one of the first things Windows does when browsing to a SMB share, is trying to transparently authenticate with the credentials of the active user. And if a user account that same username and password exists on the server, authentication will be successful and the SMB share will be opened. But if you have a Microsoft Account, this won’t work and Windows will ask you to provide valid credentials.

The Reason

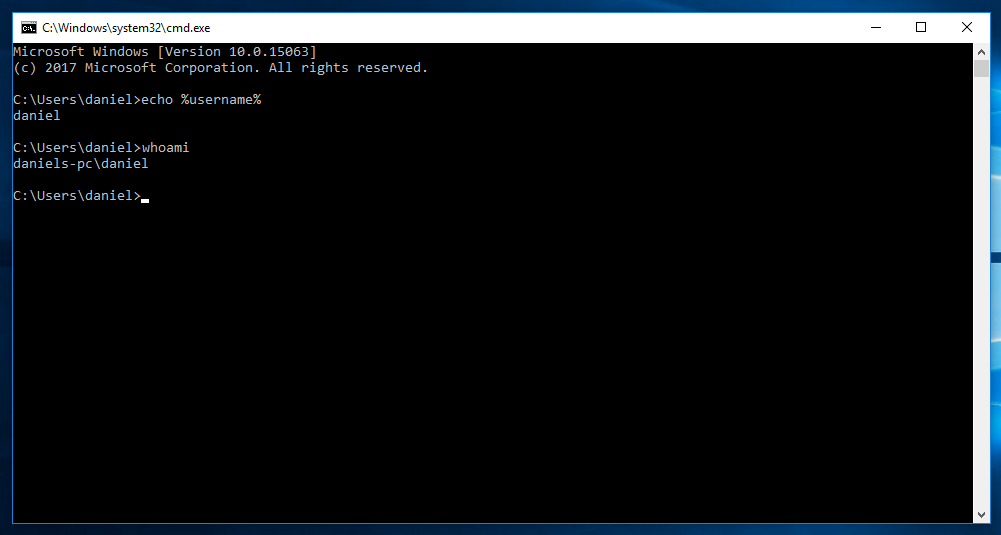
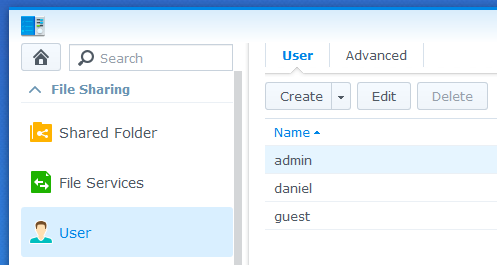
To figure out your username, you would normally open a command prompt and do a quick echo %username% or whoami. It will show you your username. You would then compare that to the Synology user account. Naturally, you need to have identical password for both user accounts, too.

Strangely, transparent SMB authentication will fail and you will be greeted with a credentials prompt.

The reason behind this is that, by using a Microsoft Account, Windows’ SMB client will authenticate with the username, but with the email address of your Microsoft account. Have a look at the TCP transmission.

(“MicrosoftAccount\…” is the domain and not part of the username)

So what we have to do sounds easy. Log into the Synology and rename the user account “daniel” to “██████@gmail.com”. Unfortunately for us, Synology does not allow for the “@” character to be a part of the username. So we need to do some hacking.

The Solution

  • First, enable SSH on the Synology. You find that under Control Panel > Applications > Terminal & SNMP > Terminal > Enable SSH service.
  • Then SSH into your Synology. Use the credentials of your admin account. Once you are in, gain root permissions by executing sudo -i.
  • Run vim /etc/passwd and locate and rename the specific user account. In my case it would be from “daniel” to “██████@gmail.com”. This would look something like that:
# before
daniel:x:1027:100::/var/services/homes/daniel:/sbin/nologin 

# after
██████@gmail.com:x:1027:100::/var/services/homes/daniel:/sbin/nologin
Code language: PHP (php)
  • Do the same for the Samba user account in vim /etc/samba/private/smbpasswd
██████@gmail.com:1027:XXXXXXXXXXXXXXXXXXXXXXXXXXXXXXXX:…:[U          ]:…:
  • Restart the Samba service /usr/syno/etc/rc.sysv/S80samba.sh restart

Done!

The username in the Synology web interface won’t change though, but I don’t consider that a big deal. I hope that Synology will provide a native solution to this issue in the near future.

Thanks for reading and if you have any suggestions for improvements, please let me know in the comments.

  • Daniel

Comments

9 responses to “Enabling transparent SMB authentication between your Microsoft Account and your Synology DiskStation”

  1. Mike Avatar
    Mike

    Daniel,

    I tried your hack, but it is not working for me. I still get the prompt stating username and password incorrect. The funny thing is that when I type my Microsoft Account credentials into the prompt, I can access the NAS. So, the credentials appear to be working on the Synology, they are either not getting properly passed by Windows 10 or properly received by the NAS. Do you have any suggestions?

    1. Mike Avatar
      Mike

      Scratch that. It is authenticating correctly on the LAN. I was trying it earlier by browsing the network shares over my VPN.

      1. Daniel Avatar
        Daniel

        I have no idea why it’s not working on your end. Could be that it’s because the device is in a different (sub-) network. You could trace the network packets, especially SMB Session Setup Request, and see if NTLMSSP_AUTH is sent with a valid username. See the example screenshot in the article for how it should look like.

  2. Michael Avatar
    Michael

    Tested this on my DS418j and yes, it worked after restarting samba service. Howerver, after a Disk station reboot, I noticed that this user was not listed anymore in the user overview. Hence, I reverted back the changes as I was not able to assign any other permissions to this user or administrate it anymore.

    Still, thank you for providing a solution.

    1. Daniel Avatar
      Daniel

      Yeah, I had the same issue but didn’t want to spend more timeon that. I left Synology feedback over a year ago with a link to this article (not that they wouldn’t already know how to fix that) but haven’t received any answer, sadly.

  3. Daniel Avatar
    Daniel

    Thanks a lot for this! I could apply a very similar procedure on my WD PR4100 to enable the use of windows accounts. It was really a life saver… 🙂

  4. chris Avatar
    chris

    Could something similar to this work? It works on the Freenas implmentation

    Steps in FreeNAS. (I’m a CLI guy by nature but there should be a way to do this via the user preferences in the GUI) :
    01 – stop samba

    service samba_server stop

    02 – create username map file, substitute your user.name/domain as needed.

    vi /usr/local/etc/smbusers

    user.name = user.name@domain.com
    03 – Update /usr/local/etc/smb4.conf to use username map.
    under [global] add:
    username map = /usr/local/etc/smbusers
    04 – start samba

    service samba_server start

  5. Chris Avatar
    Chris

    This actually works – from https://community.synology.com/enu/forum/7/post/122304

    login via ssh

    become root using

    sudo -i

    Add this line to the bottom of /etc/samba/smb.conf

    username map = /etc/samba/user.map

    Create /etc/samba/user.map file and add your entry

    userid=username@domain

    restart samba using

    synoservice -restart samba

  6. […] hat in seinem Blog nun 2017 eine sehr technische Lösung vorgestellt, welche sicher funktioniert hätte, mir aber doch etwas zu „nerdy“ […]

Leave a Reply to Michael Cancel reply

Your email address will not be published. Required fields are marked *